 Snipe
SnipeSetup · SnipeOS 13D
From ISO to desktop
A picture guide for USB writing, live boot, Calamares install, and a first look at the apps. Pair with the full written install guide when you want every click spelled out.
SnipeOS 13D (apps on the desktop)
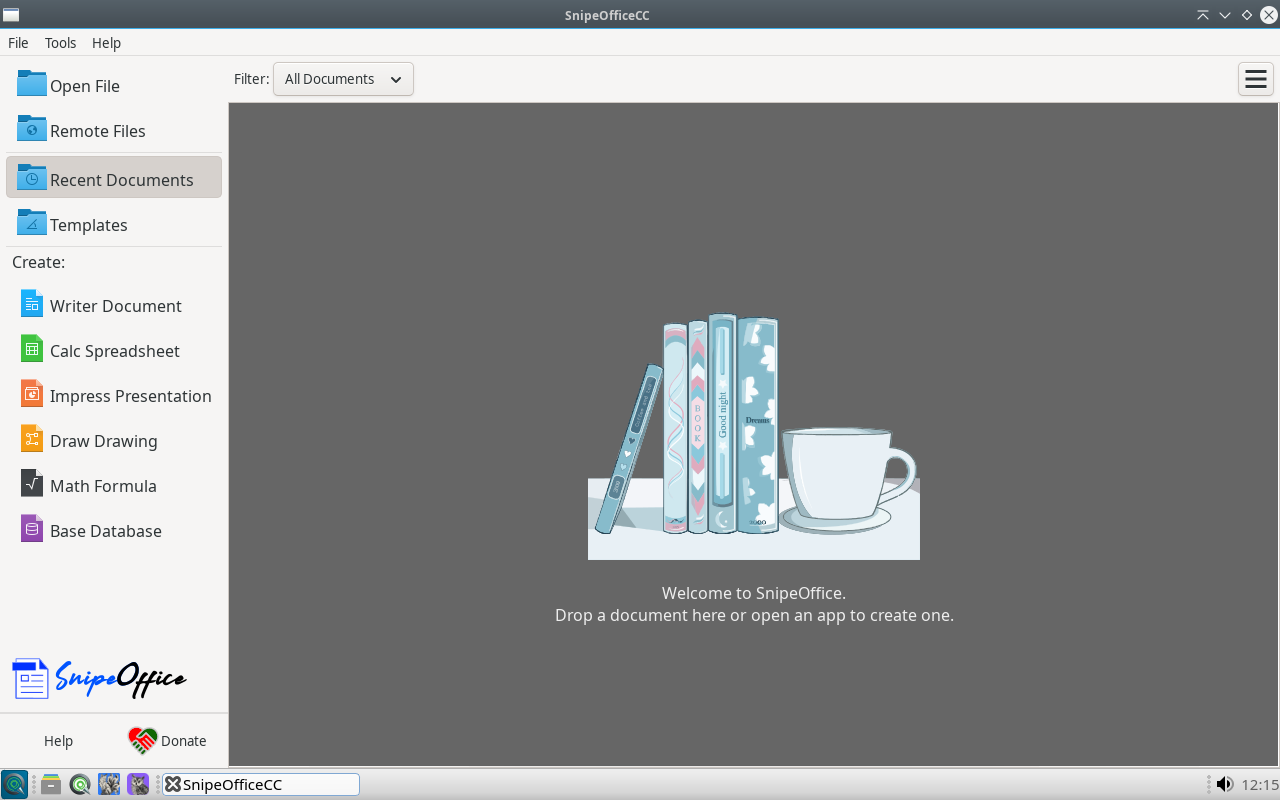
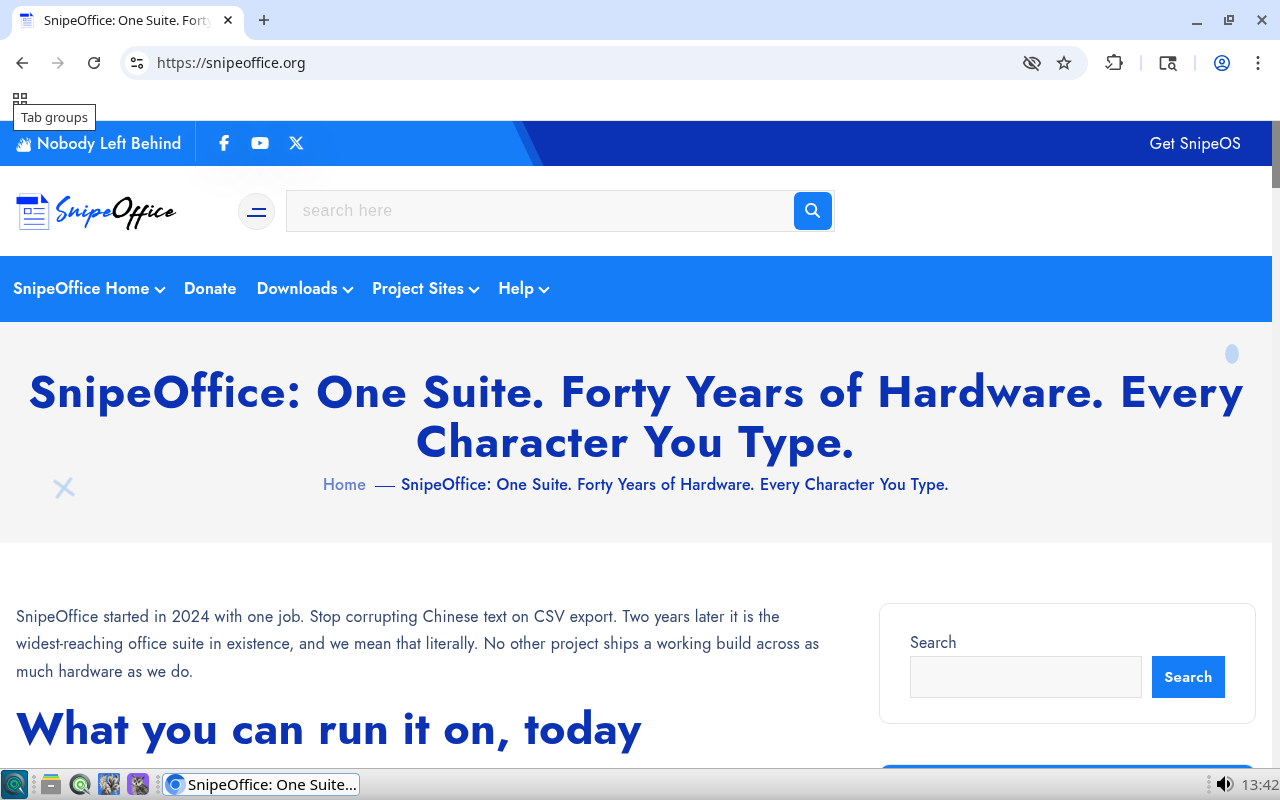
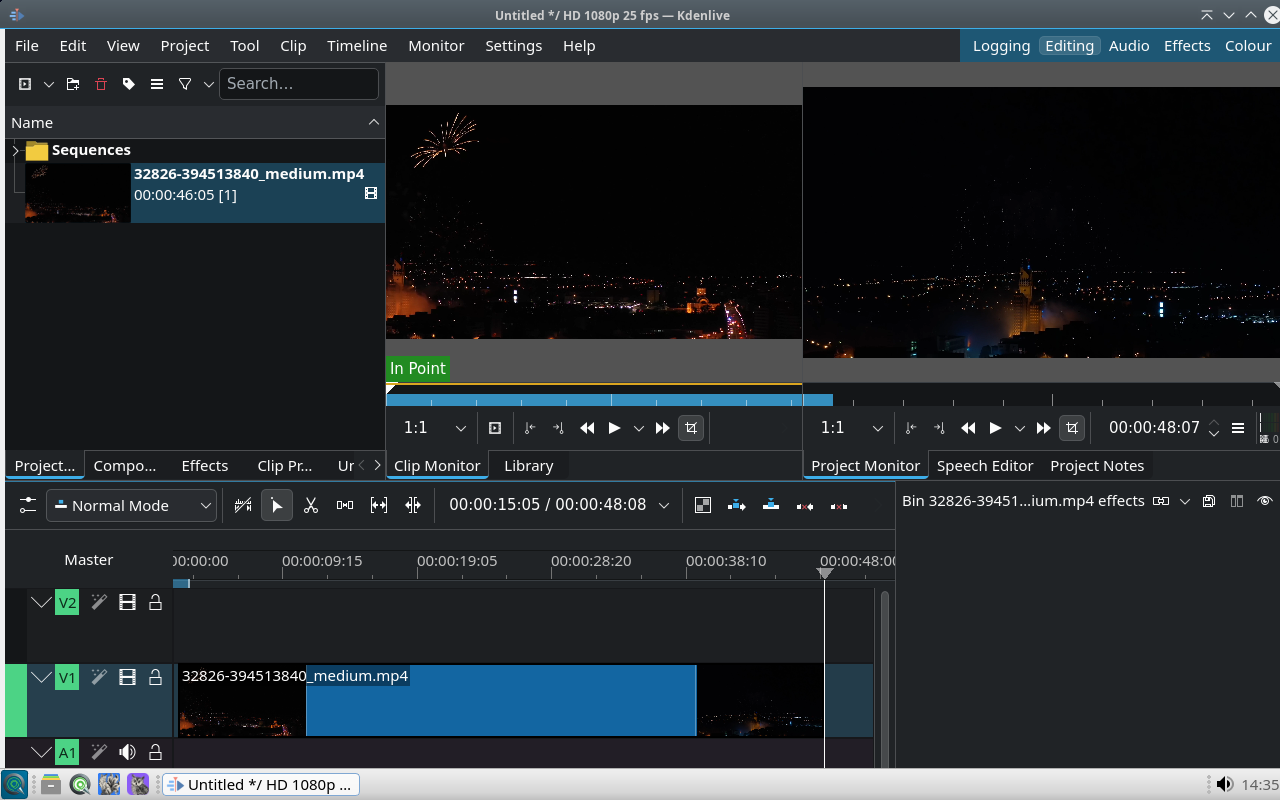
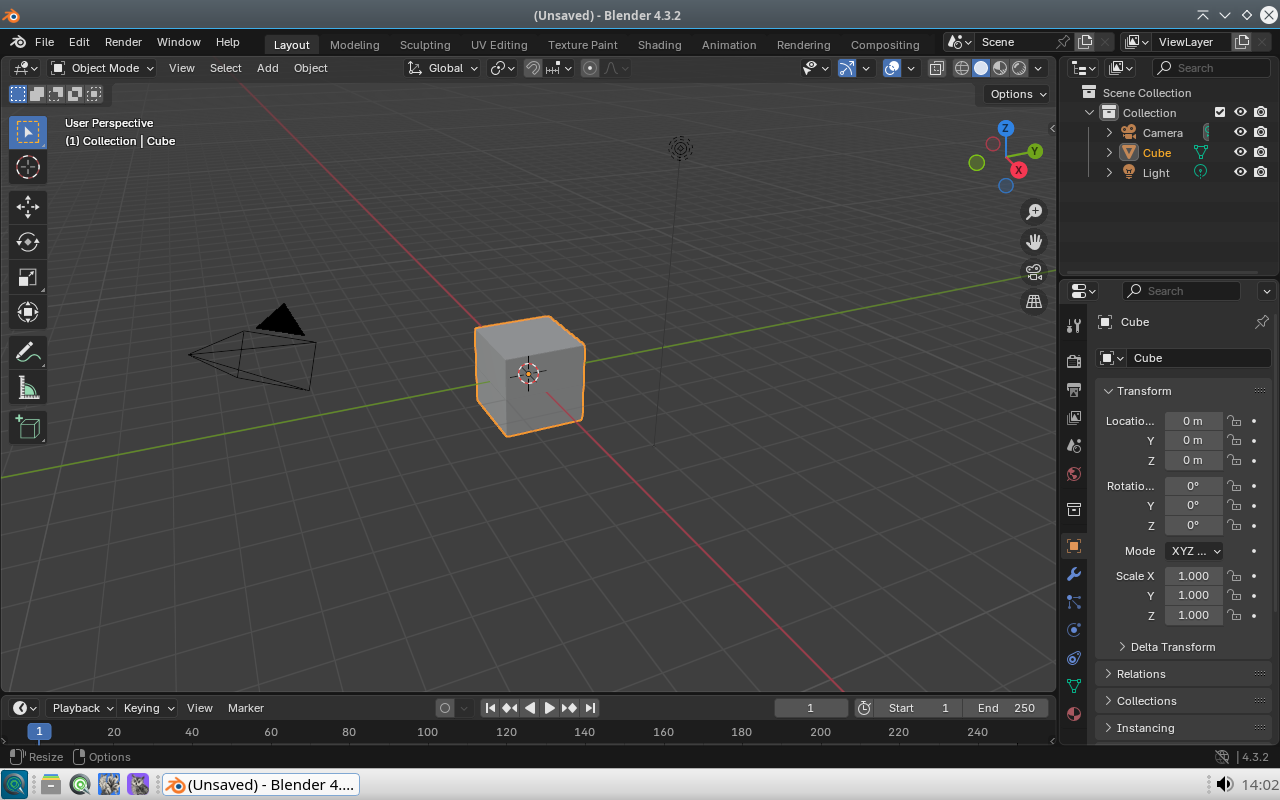
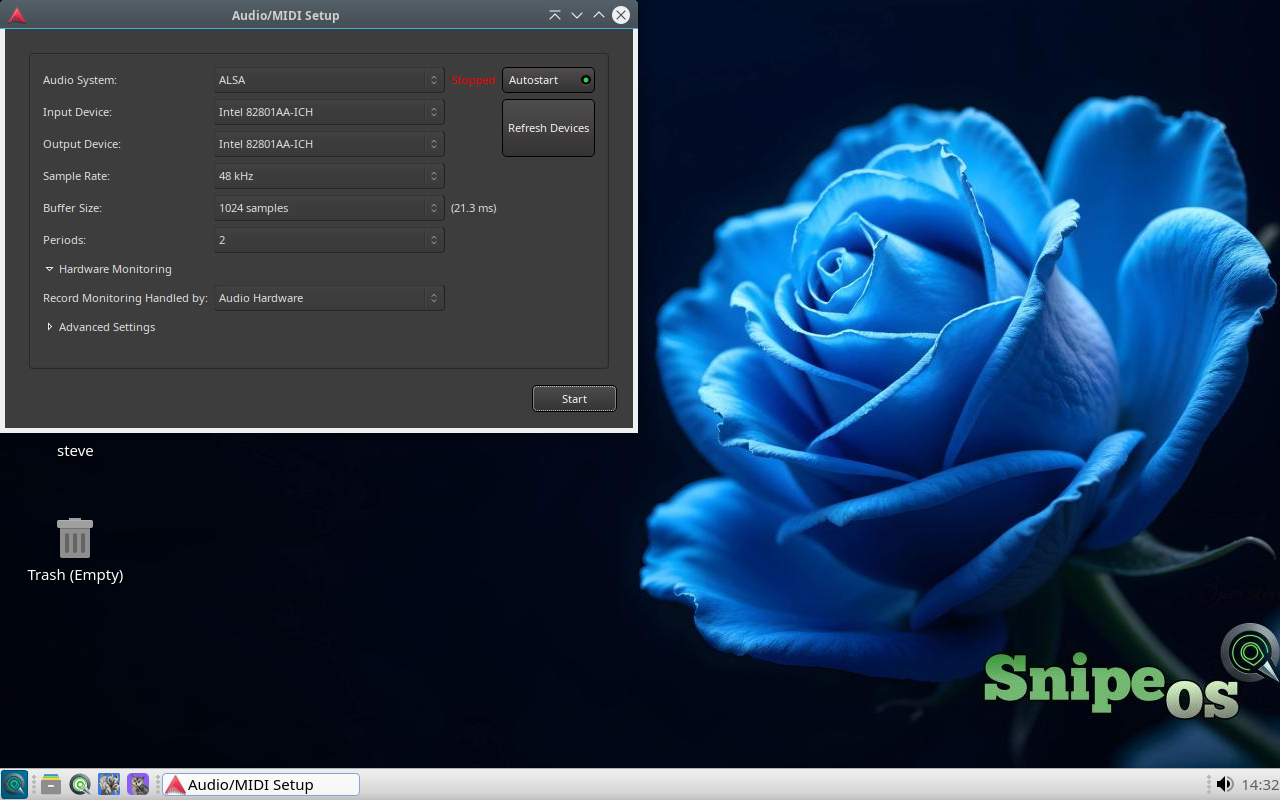
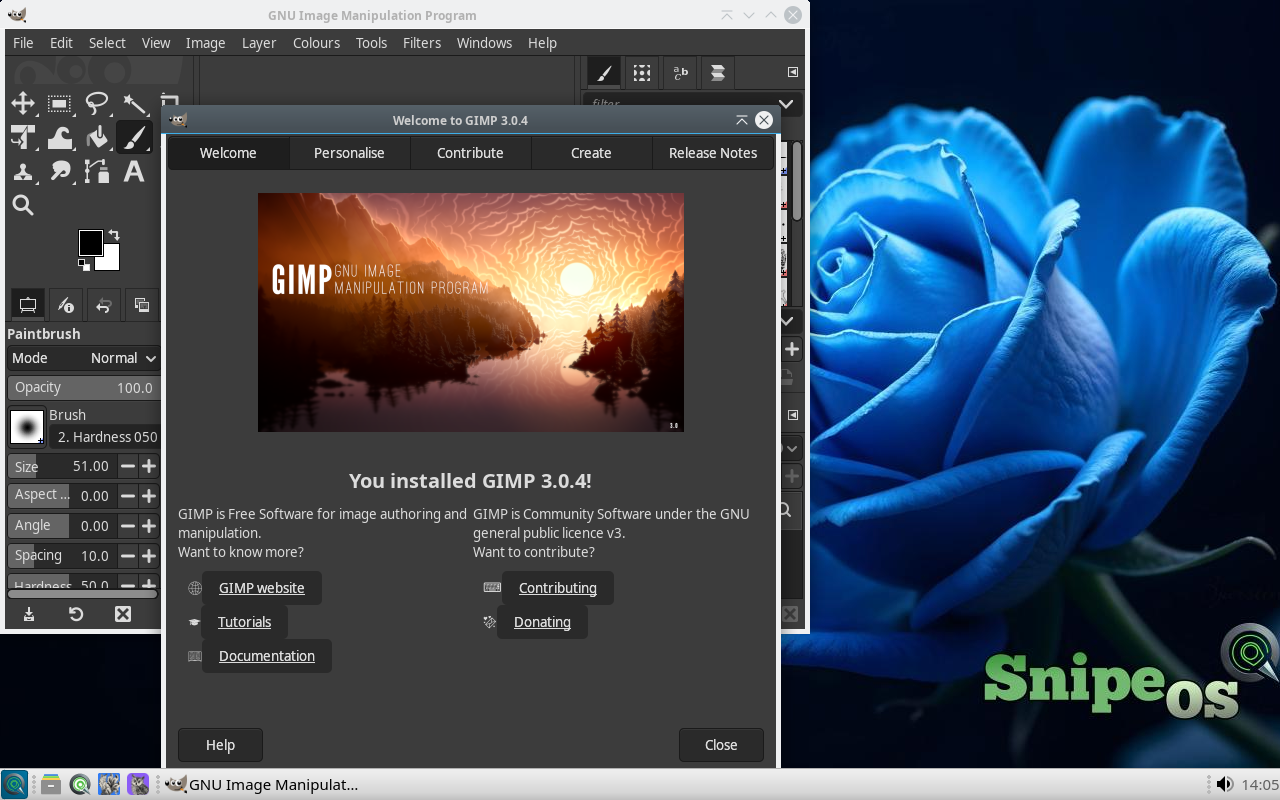
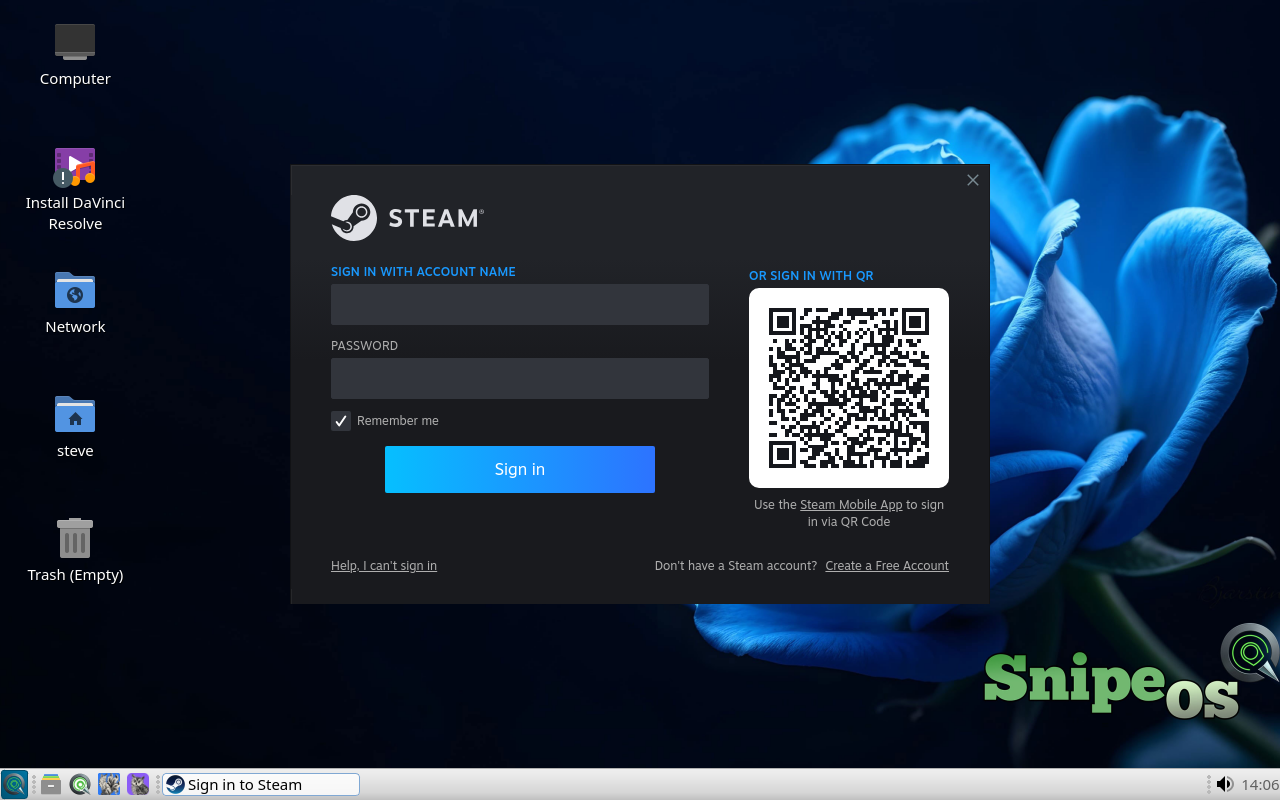
After install you land on a light desktop with a familiar menu. These frames show the live and installed system with creative apps open: office, browser, graphics, video, audio, 3D, and games. Nothing here is a video; click any shot to enlarge it.


USB pendrive preparation
Write the SnipeOS 13D ISO straight to a USB stick so the PC can boot from it. Always use DD / Image mode.
- Download snipeos-13d-build27.iso from Archive.org (or use the torrent, which is often faster).
- Open Rufus on Windows and select your USB stick.
- Select the ISO as the boot selection and click START.
- When Rufus asks how to write the image, choose Write in DD Image mode (not ISO mode).
- Wait until Rufus finishes, eject the stick safely, then boot the target PC from USB.
On Linux, write the whole disk device (never a partition) with dd. Example:
sudo dd if=snipeos-13d-build27.iso of=/dev/sdX bs=4M status=progress oflag=syncBoot menu (GRUB)
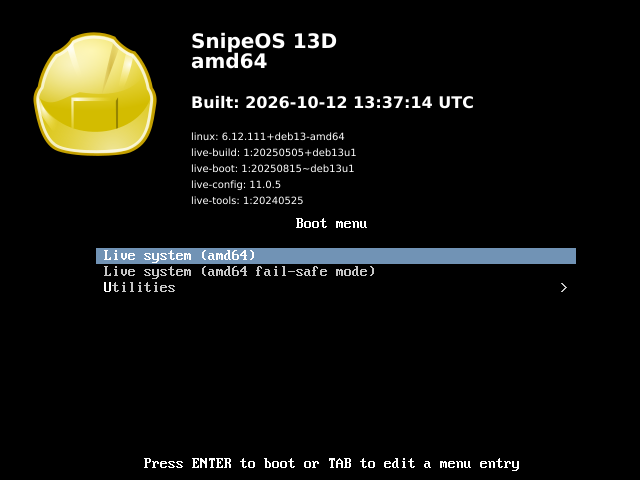
After the PC boots from USB you should hear or see the SnipeOS GRUB menu, not a generic leftover menu.
- Move highlight to Live system if you want to try the desktop without changing the hard disk.
- Or choose Install SnipeOS if you are ready to run the graphical installer straight away.
- Press Enter to continue.
On unfamiliar hardware, start with Live system so you can check display, keyboard, and wireless first.
Live desktop
The live session is a full SnipeOS 13D desktop. You get the blue rose wallpaper, light LXQt panel, and desktop icons including Install SnipeOS.
- Confirm the screen resolution and keyboard layout feel right.
- Open a few apps if you want to stress-test RAM and graphics.
- When ready to install, double-click or activate Install SnipeOS on the desktop (or open it from the menu).
If the live desktop is usable, the installed system will be comfortable. See the hardware guide for RAM and disk planning.

Installer welcome
Calamares opens as SnipeOS Installer. This is the only install path on this channel.
- Wait until the welcome page finishes loading modules. Next stays disabled until that finishes.
- Choose your language from the list (for example American English or British English).
- Activate Next to continue.

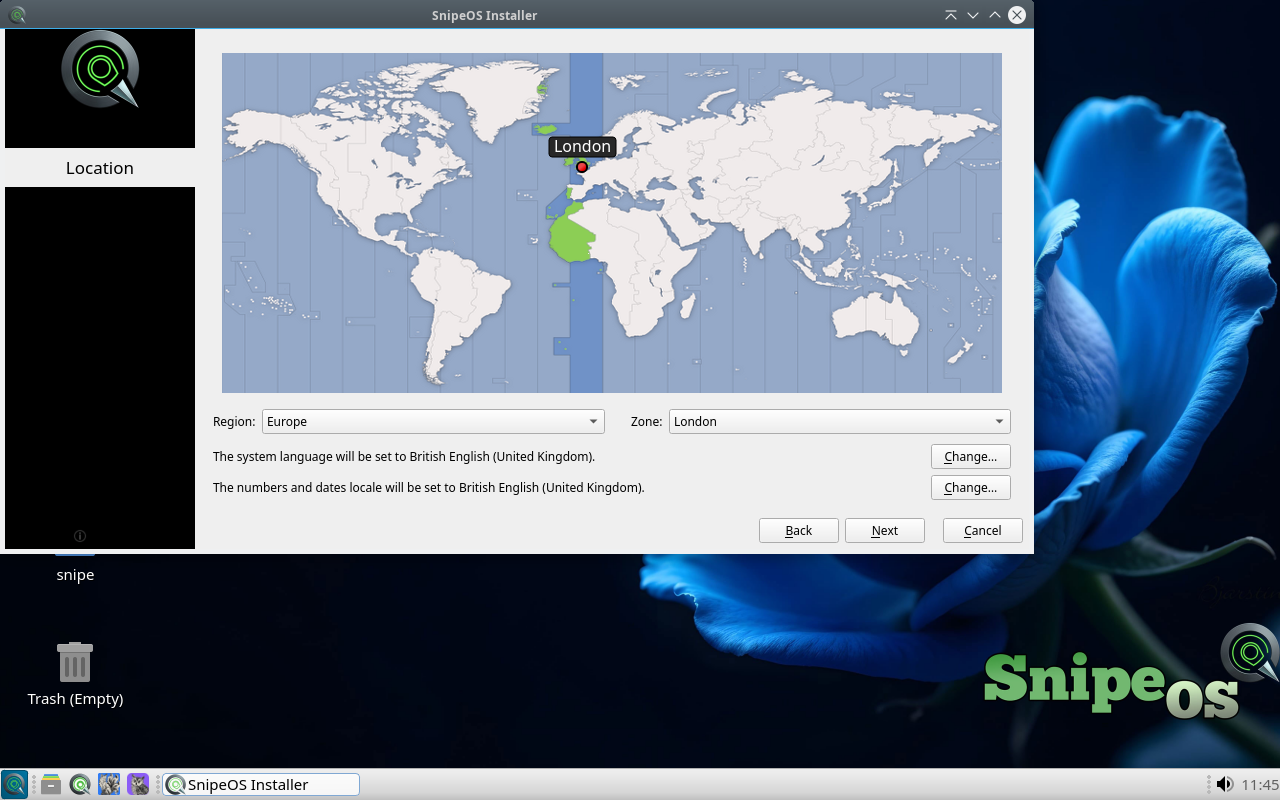
Location and locale
Set where you are so the clock, formats, and region match your work.
- Click the map near your city, or choose Region and Zone from the lists.
- Confirm language and locale (for example Europe/London and British English).
- Activate Next.
Keyboard
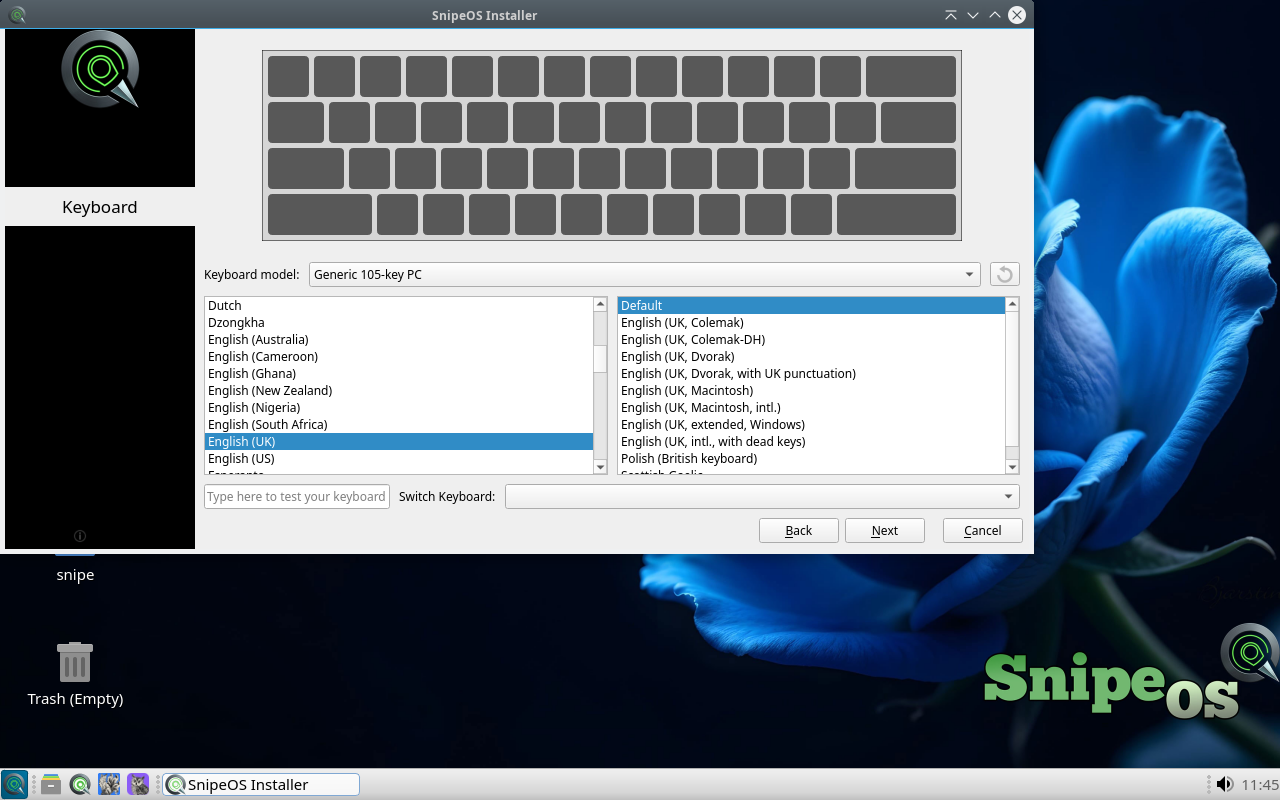
Pick the layout that matches the keys under your fingers.
- Choose Keyboard model if needed (Generic 105-key PC is common).
- Select language and layout (for example English UK, Default).
- Type a few characters in the test field to confirm punctuation and letters.
- Activate Next.
Partitions (read carefully)
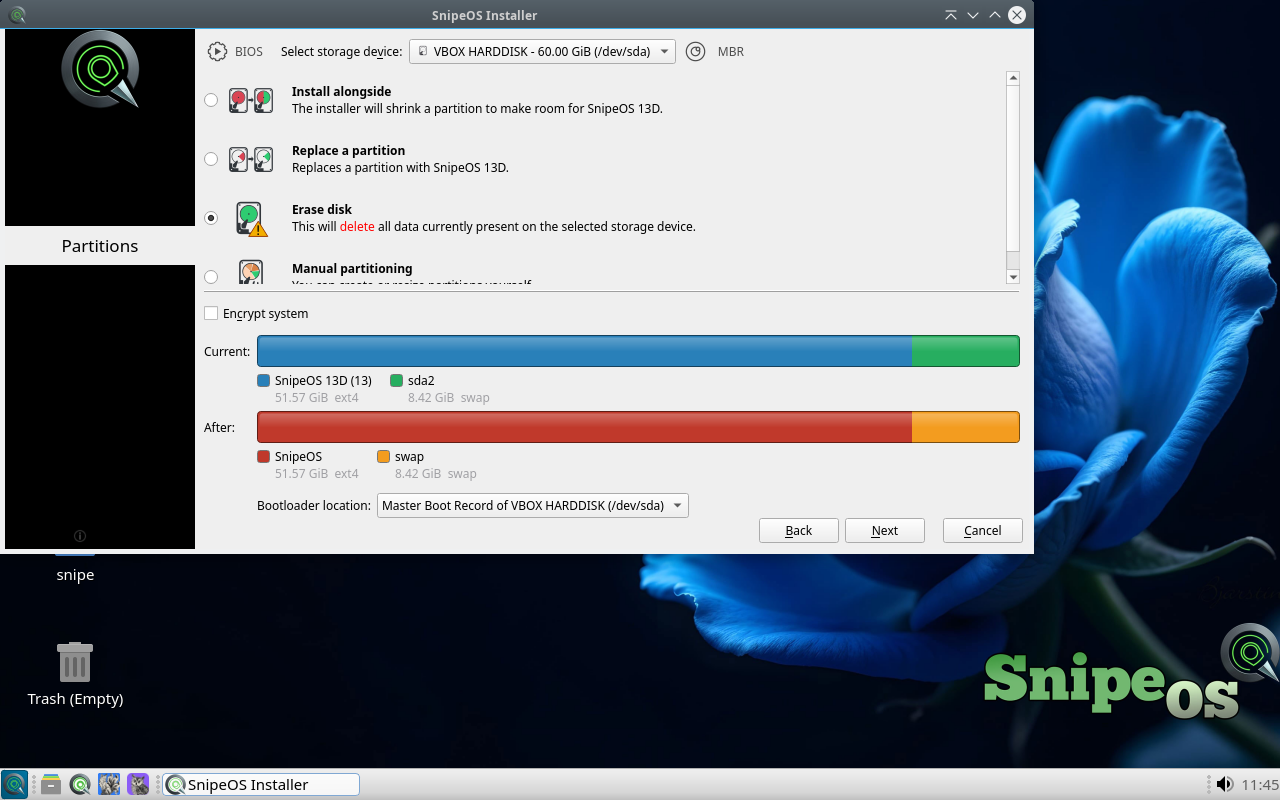
This step decides which disk SnipeOS 13D uses. Wrong choices can erase the wrong drive.
- Select the target disk in the list.
- Choose Erase disk for a clean single-OS install, Install alongside if offered and you want to keep another OS, or Manual if you know your layout.
- Review the After bar: you typically see a root filesystem (ext4) plus swap.
- Confirm where the bootloader will be written (for example the disk MBR or EFI system partition).
- Activate Next only when the target disk is correct.
Your user account
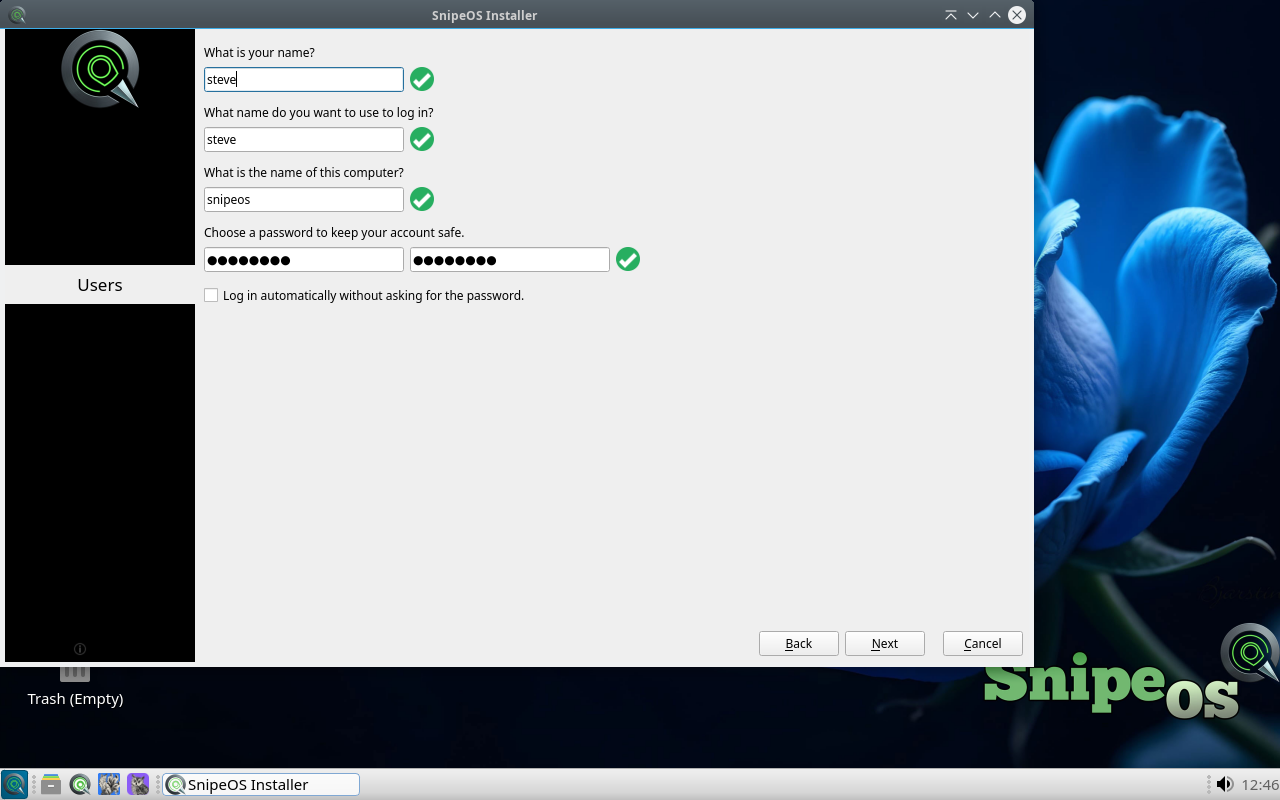
Create the account you will log in with every day.
- Enter your full name.
- Enter a login name (lowercase, no spaces).
- Enter a computer name (hostname).
- Enter a password twice until the checks turn green.
- Leave automatic login unchecked if you want a password at the login screen.
- Activate Next.
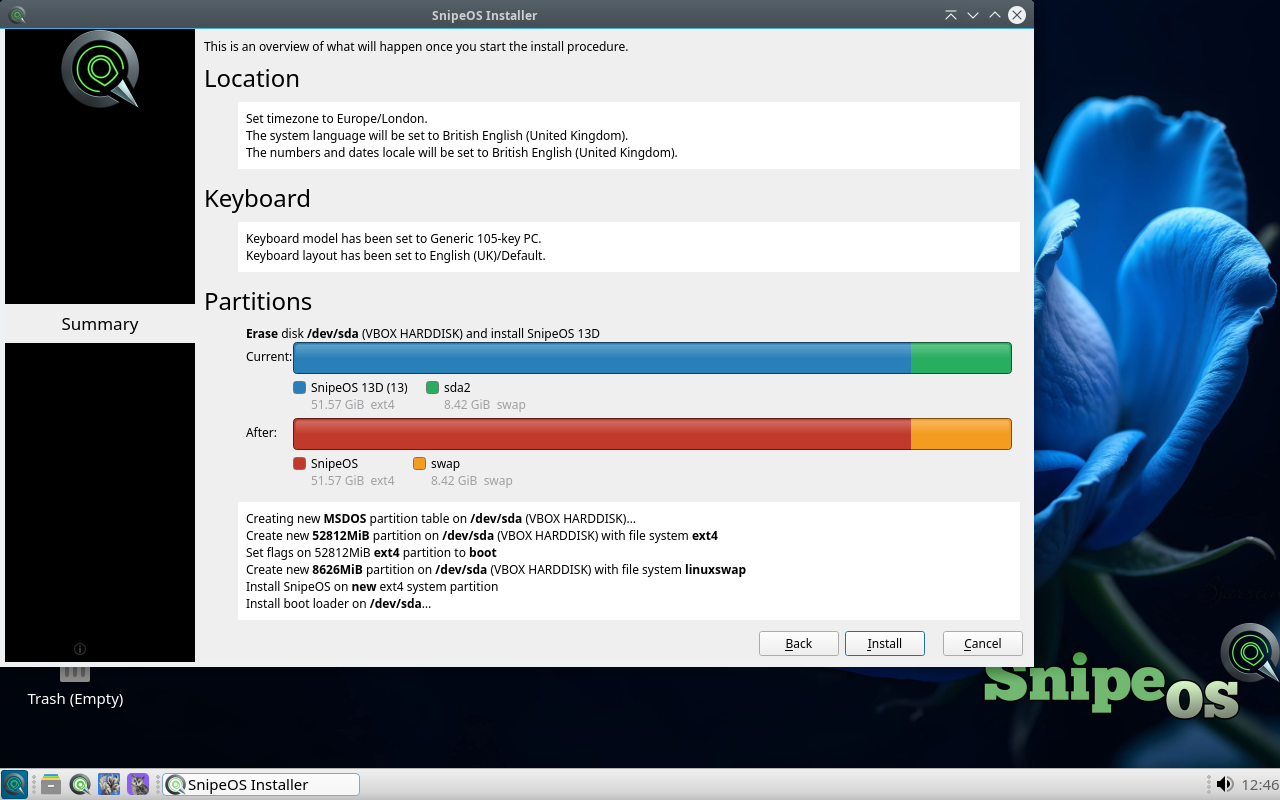
Summary
Review everything once before any disk writes begin.
- Check locale, keyboard, and partition actions.
- If something is wrong, use Back and fix it.
- When the summary is correct, activate Install.
Install progress
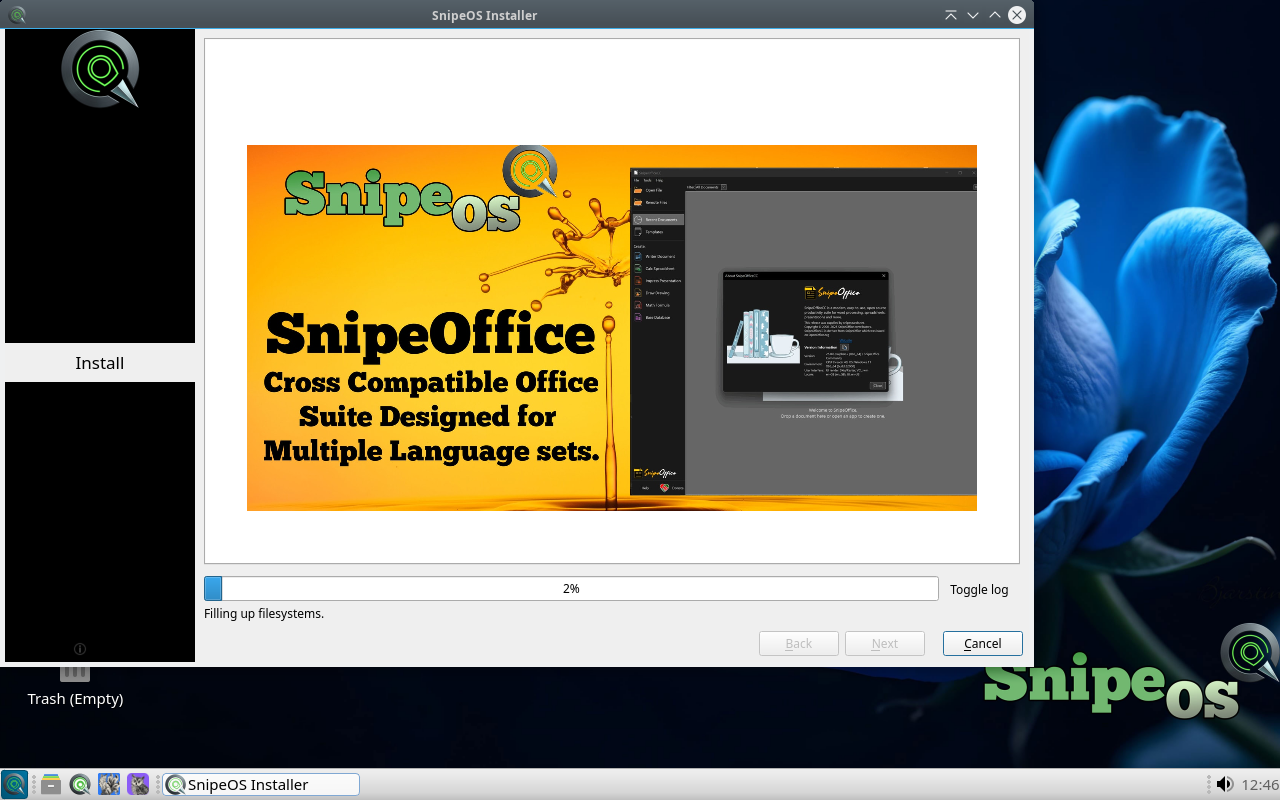
Calamares copies the system and shows a slideshow of what you are getting: SnipeOffice, Inkscape, Kdenlive, Ardour, and the rest of the creative stack.
- Leave the USB stick in the machine.
- Do not power off while the progress bar and status text are moving.
- You can watch the slideshow, or simply wait until the Finish page appears.
Finish and restart
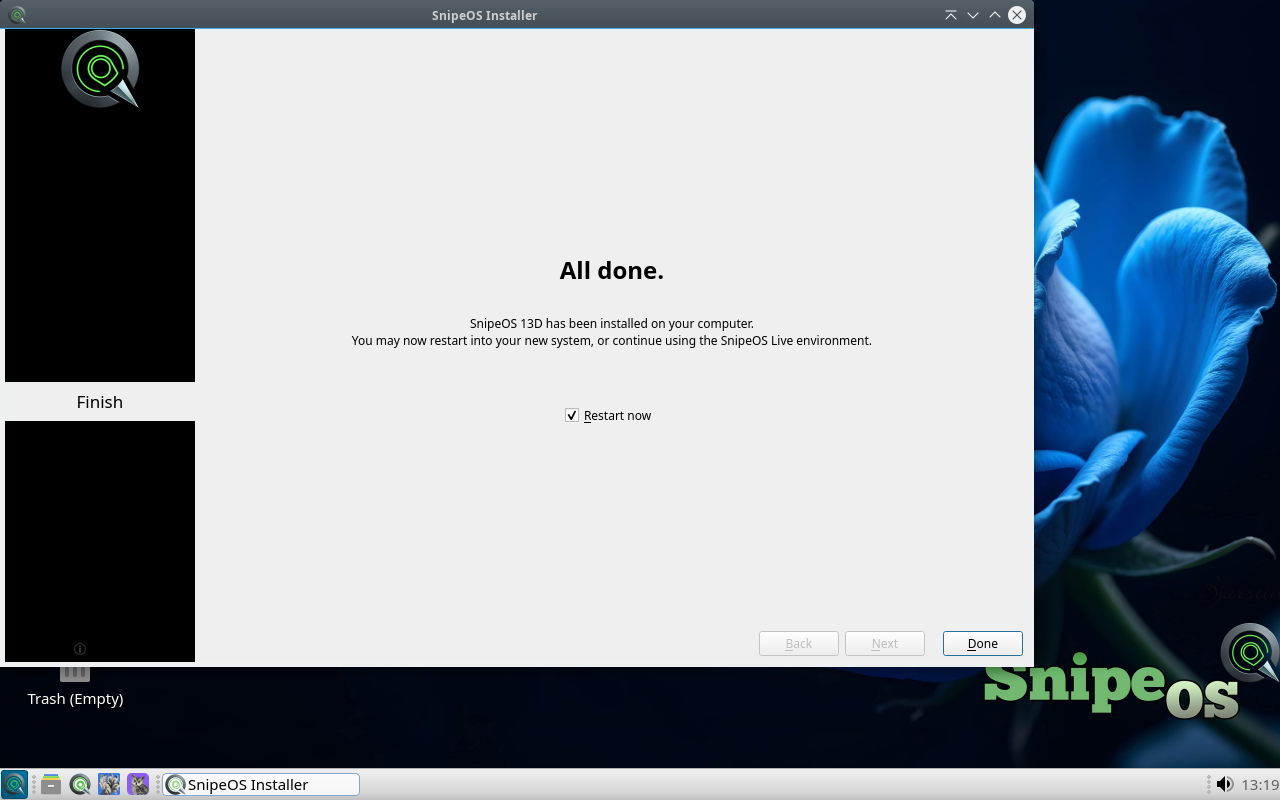
When Calamares reports All done, the disk install is complete.
- Leave Restart now checked if you want an immediate reboot.
- Activate the finish / restart control.
- When prompted, remove the USB stick so the PC boots from the hard disk, not the installer media.
- Press Enter if the console asks you to confirm after removing the medium.
First boot after install
On the next boot you should see the installed SnipeOS GRUB menu, then the branded splash, then the login screen, then your desktop.
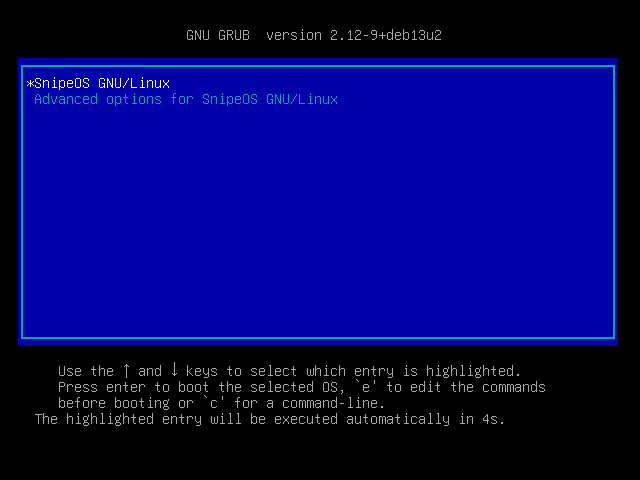


- At installed GRUB, leave SnipeOS GNU/Linux highlighted or press Enter.
- Wait through the splash animation.
- At the login screen, select your user, type your password, and log in.
- You land on the light desktop with the full creative stack ready from the menus. Browse apps under Applications.
More detail, including hardware planning: Install guide · Hardware requirements.